So I read a book about puppet-building, which can be found here. Now I did struggle a little because the language was very twee and it suggested I not try certain things while hungover (you can’t tell me what to do! and so forth). But it was kind of a treasure trove, if I’m honest. I’m an awkward sod and I will largely find my own way to do stuff, but I was intimidated by the project, and by my undying love for The Dark Crystal. After reading the book, I felt I had some handholds and some relatively well-defined idea of where to start.
First off, since it was my first go at this, lessons learned:
- When you make a paper template for some part, don’t (for fuck’s sake) throw it out until you’ve cut all the parts to match. This is a lesson I feel I learn at least once a year, so it seemed worth mentioning.
- When you struggle to find the foam you need, search for furniture foam. I used 1-inch for the face and 1/4-inch for the fingertubes. The 1-inch is a bit bulky and unwieldy but holds its shape really well.
- Seriously, the hot glue gun gets hot. I guess that’s why it’s not called the medium toasty glue gun.
- When cutting the initial pieces for the face, think about how they’re going to fit together with foam edges. I will make the lower jaw narrower than the upper (or substantially wider) in future.

I used a paper template to make the shape I wanted for the mouth, then cut the mouth out of 1-mil plasticard. I’m pretty happy with the thickness, it’s sturdy but not too stiff. One bit of advice: do not separate the upper and lower jaw until you’ve cut the fleece for the inside of the mouth. I started with a hobby knife, but even after two passes I wasn’t through so I finished off with Dark Stanley, which is what I call my Stanley knife because I’m a giant fucking nerd.

I separated the upper and lower jaw, shortly before realising I still needed my paper template. So in light of that stunning revelation, I cut some strips of 1/4-inch foam and used the hot glue gun to turn them into tubes. The width of the strips was a little shorter than the length of my fingers, and they were long enough to wrap around my fingers with some room to spare. Time will tell if it’s too much room. Pro tip: the glue is hot, try not to touch. I failed. It wasn’t too bad.

This photo was taken an hour or two later. Note how the tubes are still tubes. Score one for Snoof.

I managed to cut something like a fleece piece to match the inside of the mouth, and I used spray adhesive to glue it to the plastic pieces. At this stage they needed to be separate, so I sprayed the glue on the smooth side of the fleece, waited for it to go tacky and pressed the plastic against it. In future, I plan to cut a single piece of fleece, glue it, let it dry and then snip it to size. But in future, I plan to be wiser, and that plan often goes awry. I’ll have to trim down the plastic to match the fleece. Having some anxiety about the wisdom of not leaving any spare. We’ll see, I guess?

On the back I glued a small piece of fleece to keep it all together. I sprayed glue on the fleece, folded the mouth shut and (when the spray adhesive was tacky) pressed the folded mouth onto it, then flipped it so it straddles the fold.

At this point I had an Oreo ice cream sandwich, and took a photo to brag about it. 9/10, do recommend.
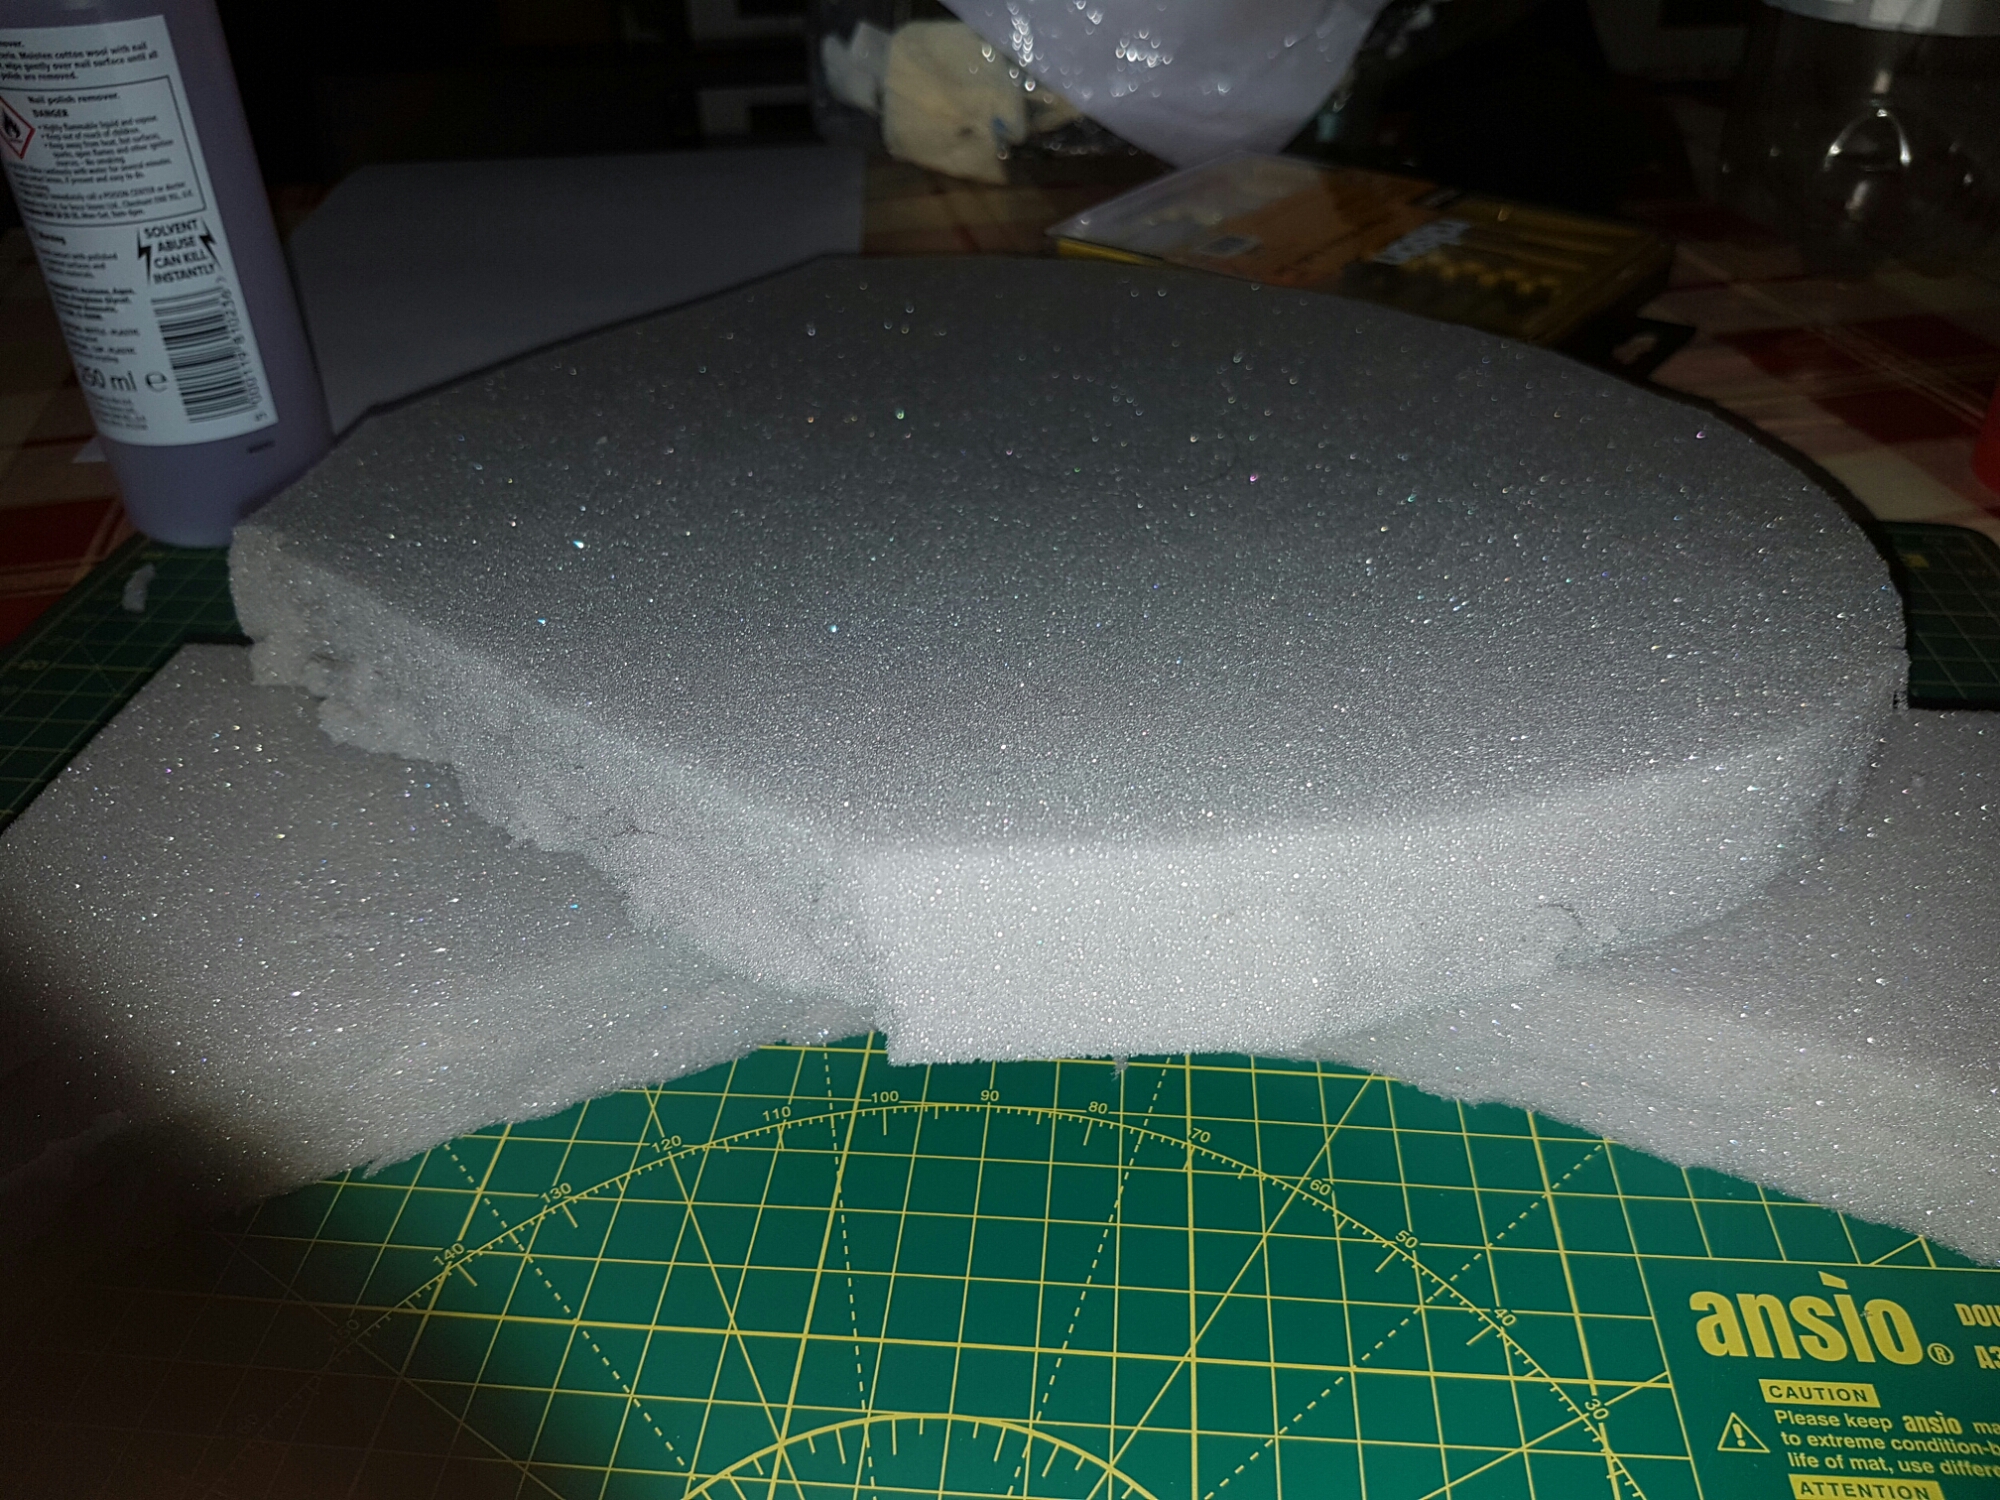
Time now to cut the foam for the face. I cut too much face, to ensure I wouldn’t be short. Remember, it’s easier to remove more than to add some. On the left, you can see where I used Dark Stanley. On the right, a hobby knife in small strokes (3 passes to cut all the way through). As you can surmise, I found that the hobby knife was a better option. Make sure the back of the blade sticks out of the foam you’re cutting and you’ll be golden.
I used scissors to neaten the edges a little bit. I’m not too worried though – they will be covered with fleece soon enough.

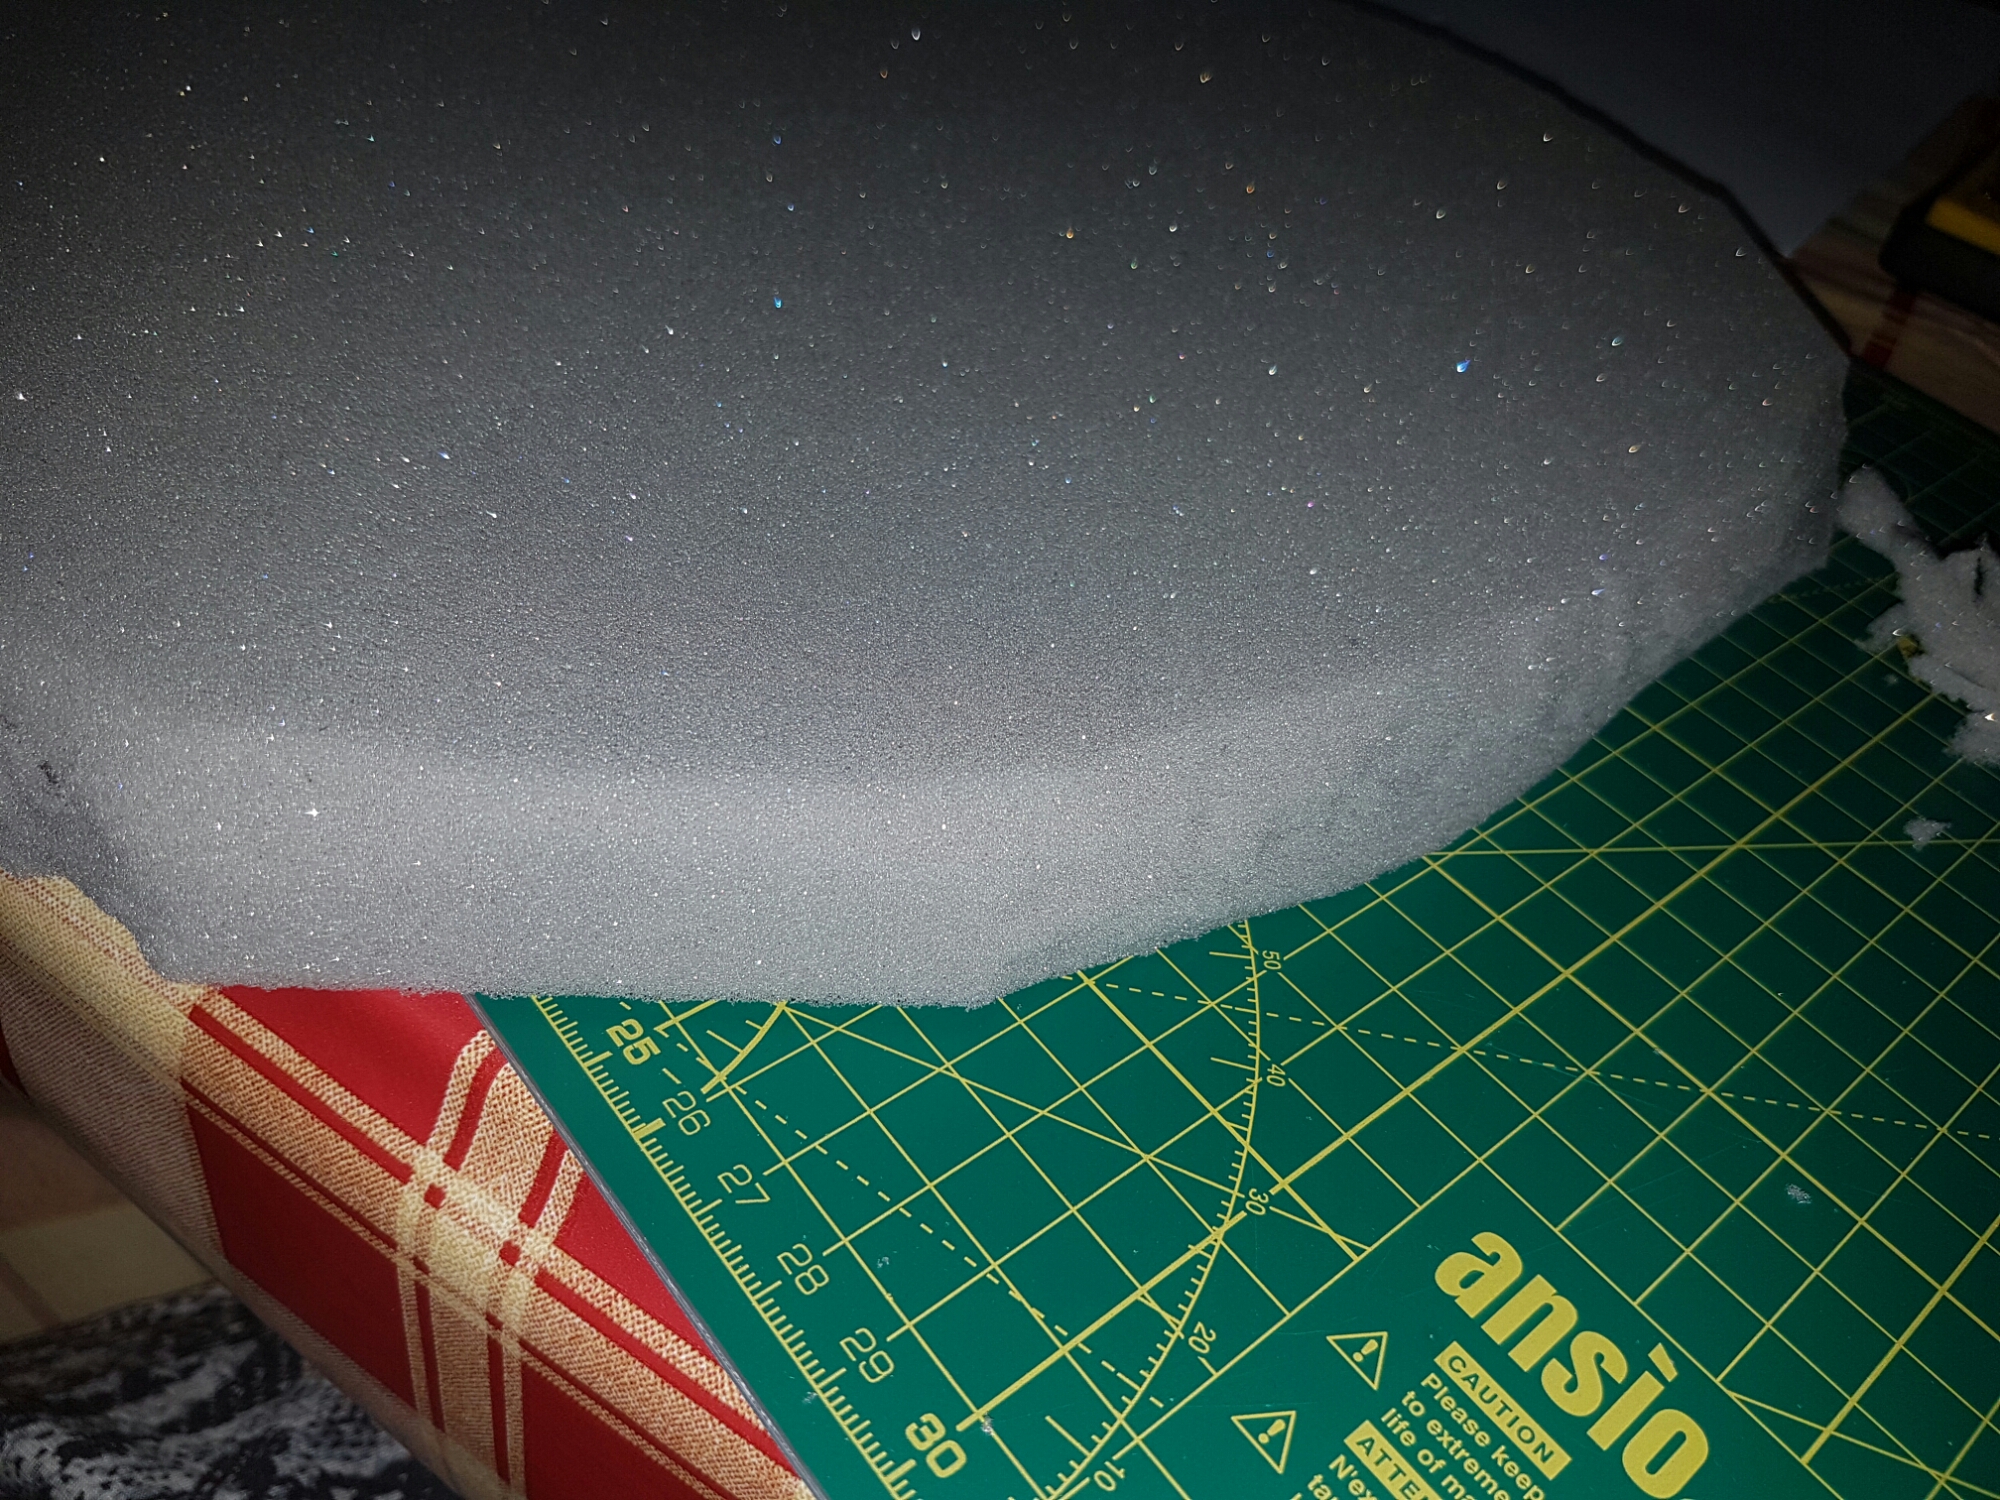
I also cut a big dart in the top, more or less willy nilly because I like living on the edge.

I decided to be clever and cut a slit partway through the foam, in which I intend to squirt some hot glue. Then I’ll slide in the mouthpiece. This solution has two advantages:
- It creates a perfect join that masks the raggedy edges of my mouthpiece.
- It means I won’t have to try and decipher the actual instructions, which I’m sure are clear and helpful but which I, for some reason, can’t process.

Now to test the dimensions and the principle, I assembled the face and held the dart more or less together, and enlisted Tall Child to take a photo. We decided together that it looks like a triceratops, so that’s what it’s going to become.

I glued the dart at the top, and then glued the upper mouthpiece into the slit I created earlier, both with hot glue. I also burned my fingers a couple times. I just don’t follow the rules, cause I’m a rebel, baby. It all worked surprisingly well, and I’m actually currently writing this because I’m excited but have run out of people to tell.

Here’s the view from the bottom. Not pictured: me blanching with the sudden realisation of how hard it’s going to be to cover it in fleece later.

And the inside.

Next i got my fingertubes and used more hot glue to glue them to the mouthpiece. In an ideal world, I would have done this before gluing the mouthpiece in, I think. I also think having a narrower bottom jaw would have been an amazing idea, for future reference.

Without my fingers inside, the back view just looks very surprised to find itself in this situation.

The bottom jaw was a little bit more challenging to put on, because the top jaw was already attached. All the same, it was easier than anticipated, although I did get some glue on the fleece and I’m annoyed about it.

Looks kind of mortified. Oops.

I trimmed the foam in the corners of the mouth to make them fit together better. I trimmed them small pieces at a time, with that pair of blurry scissors.

I forgot to take a photo of this step, so I drew a shonky little diagram of the pieces I used to make the back of the head. Now an important thing to note is that I couldn’t glue the whole thing in one go. Maybe you can, but I found it worked better if I hot glued it a little piece at a time, waited for the glue to cool, and did the next bit. Took a little while, but it actually worked, so that seemed like a fair trade.

Note the slight roundedness. It went okay.

I glued the back of the head into the face the same way I glued it together – a little bit at a time. In fact, I more or less found it so much easier to do things that way that I used the same technique throughout the remainder of the process. I don’t know how much easier gluing is for people whose hands work, though.

After that was done, I glued some pieces of foam together to make them thicker, and carved horns out of them. As you do.

I used toothpicks to stick the horns onto the face and adjusted the angle. This needs to be done before the face is covered in fleece, else you’ll struggle to get the picks through and you might leave pickmarks. In this photo, the upper horns aren’t pointing forward enough for my liking, so I got a chance to adjust them.

I was scared to start covering the face in fleece, so I dicked around for a while before I got down to it. I wanted to figure out a way for the face to be upright while I did it so I could drape the fabric and adjust. For me, sticking it on a 2L bottle of tropical crush worked. Thanks, Sainsbury’s!

I’m not covering the entire head with one piece of fabric, since I was bricking it at the idea of doing it at all, so there will be additional pieces required for the jaw and for the back of the head. I cut a piece big enough for the front of the face and draped it over the face. As you can see, it actually works pretty well, although I do need a dart at the top.

So I cut one, letting the excess fabric guide me.

Sweet as a nut. You can see some irregularities still on the right-hand side, but they’re down to the fact that it isn’t glued down yet.

I rolled up the fleece and started covering the snout in fabric-specific Mod Podge. I used a PVA glue spreader because it seemed more efficient than a brush or sponge, but you know… you do you.

I decided to cover a larger part so I rolled up more of the fabric and covered the exposed bit of face in Mod Podge before rolling the fabric back down and making sure it lay smoothly over the foam. Then I set a timer for 2 hours, which is an optimistic amount of time for the Mod Podge to dry.

Using the same technique, I covered the horns in white fleece. At first, I used hair bobbles to help keep the fabric in place. I did have to reglue some corners and edges after the drying time was up.

Once the bottom of the face was dry, I carefully rolled down the fabric to the edge of the glued bit and glued the top. I made sure I covered the entire thing to avoid having a weird unglued wrinkle. I don’t know if that’s a thing, I largely haven’t a clue what I’m doing, but it seemed like it might be so I played it safe.

It occurred to me overnight that I should really do the back of the head and the bottom jaw first, so I could get a better finish. So I glued on the back of the head using the same technique. Remember to use the same side of the fleece every time. I’m gluing on the smooth side, which will lie flatter against the foam. Also, be prepared to buy a fucktonne of fabric Mod Podge – by this point I’d gone through half a tub.

I also trimmed the excess fleece off the horns. It’s worth noting that, by this point of the project, it was mostly brief breaks of activity in amongst the interminable waiting for the timer to go off. So maybe have a secondary project on the go to keep you busy during the downtimes.

This is sort of how gluing down the edges works – cut darts as necessary, then apply glue and stick down. And then due to the foam absorbing irregular amounts of glue, maybe top up corners and edges when dry.

The bottom jaw was done much the same way, but I am really displeased with how it turned out due to the visible seams.

So I took my time a lot more with the back of the head.

Also with the upper jaw, which still didn’t turn out the way I’d hoped.

I glued on the horns with hot glue, and used fabric Mod Podge to glue on two black and two white bits of fleece, and voilà.


It was an interesting journey, I could be a lot happier with the result, but I learned many things I plan to use in future, so… success!